


Website Form lets you collect contact details and other customer profile information from a form that lives inside a page on your website.
It is a capture playbook, not an agentic playbook or a journey. The form creates or updates a customer profile. You can optionally assign a coupon and connect the capture to a journey that welcomes or follows up with the subscriber.
When to use Website Form
Use Website Form when you want to:
- Place a signup or profile form inside an existing website page.
- Collect a phone number, email address, name, or custom customer profile properties.
- Share a Hellotext-hosted version of the form without building a page first.
- Deliver an optional coupon after submission.
- Start a welcome or follow-up journey after someone completes the form.
Use a Website Popup when the experience should open above the page or begin from a floating prompt. Use a Shareable Link when the signup should open SMS or WhatsApp with a pre-filled subscription message.
Before you start
Decide where the form will appear and what information you need at signup. A phone number or email address is usually enough to establish a useful customer profile. Ask for additional properties only when they have a clear purpose.
Also confirm:
- Which standard or custom customer profile properties the form should collect.
- Which fields are required.
- What value or offer the page communicates.
- Whether a coupon should be assigned after submission.
- Whether a journey should start when the form is completed.
- Who can install the generated code if the form will be embedded.
- That the consent notice accurately describes the messages the visitor agrees to receive.
For channel eligibility and consent, see Who you can message.
Create the form
- Open Playbooks and click Explore playbooks.
- Find the Captures group and choose Website Form.
- Give the form a name that identifies its placement or purpose.
- Edit the heading and supporting content.
- Add and configure the customer profile fields you need.
- Edit the submission button and consent notice.
- Click Save and continue.
- Assign a coupon and journey, or skip this optional step.
- Choose whether to share the hosted link or embed the form on your website.
Use a distinct name for each placement when you need to compare results, such as Newsletter footer or Wholesale inquiry page.
Configure content and fields
The form editor lets you configure four parts.
Heading
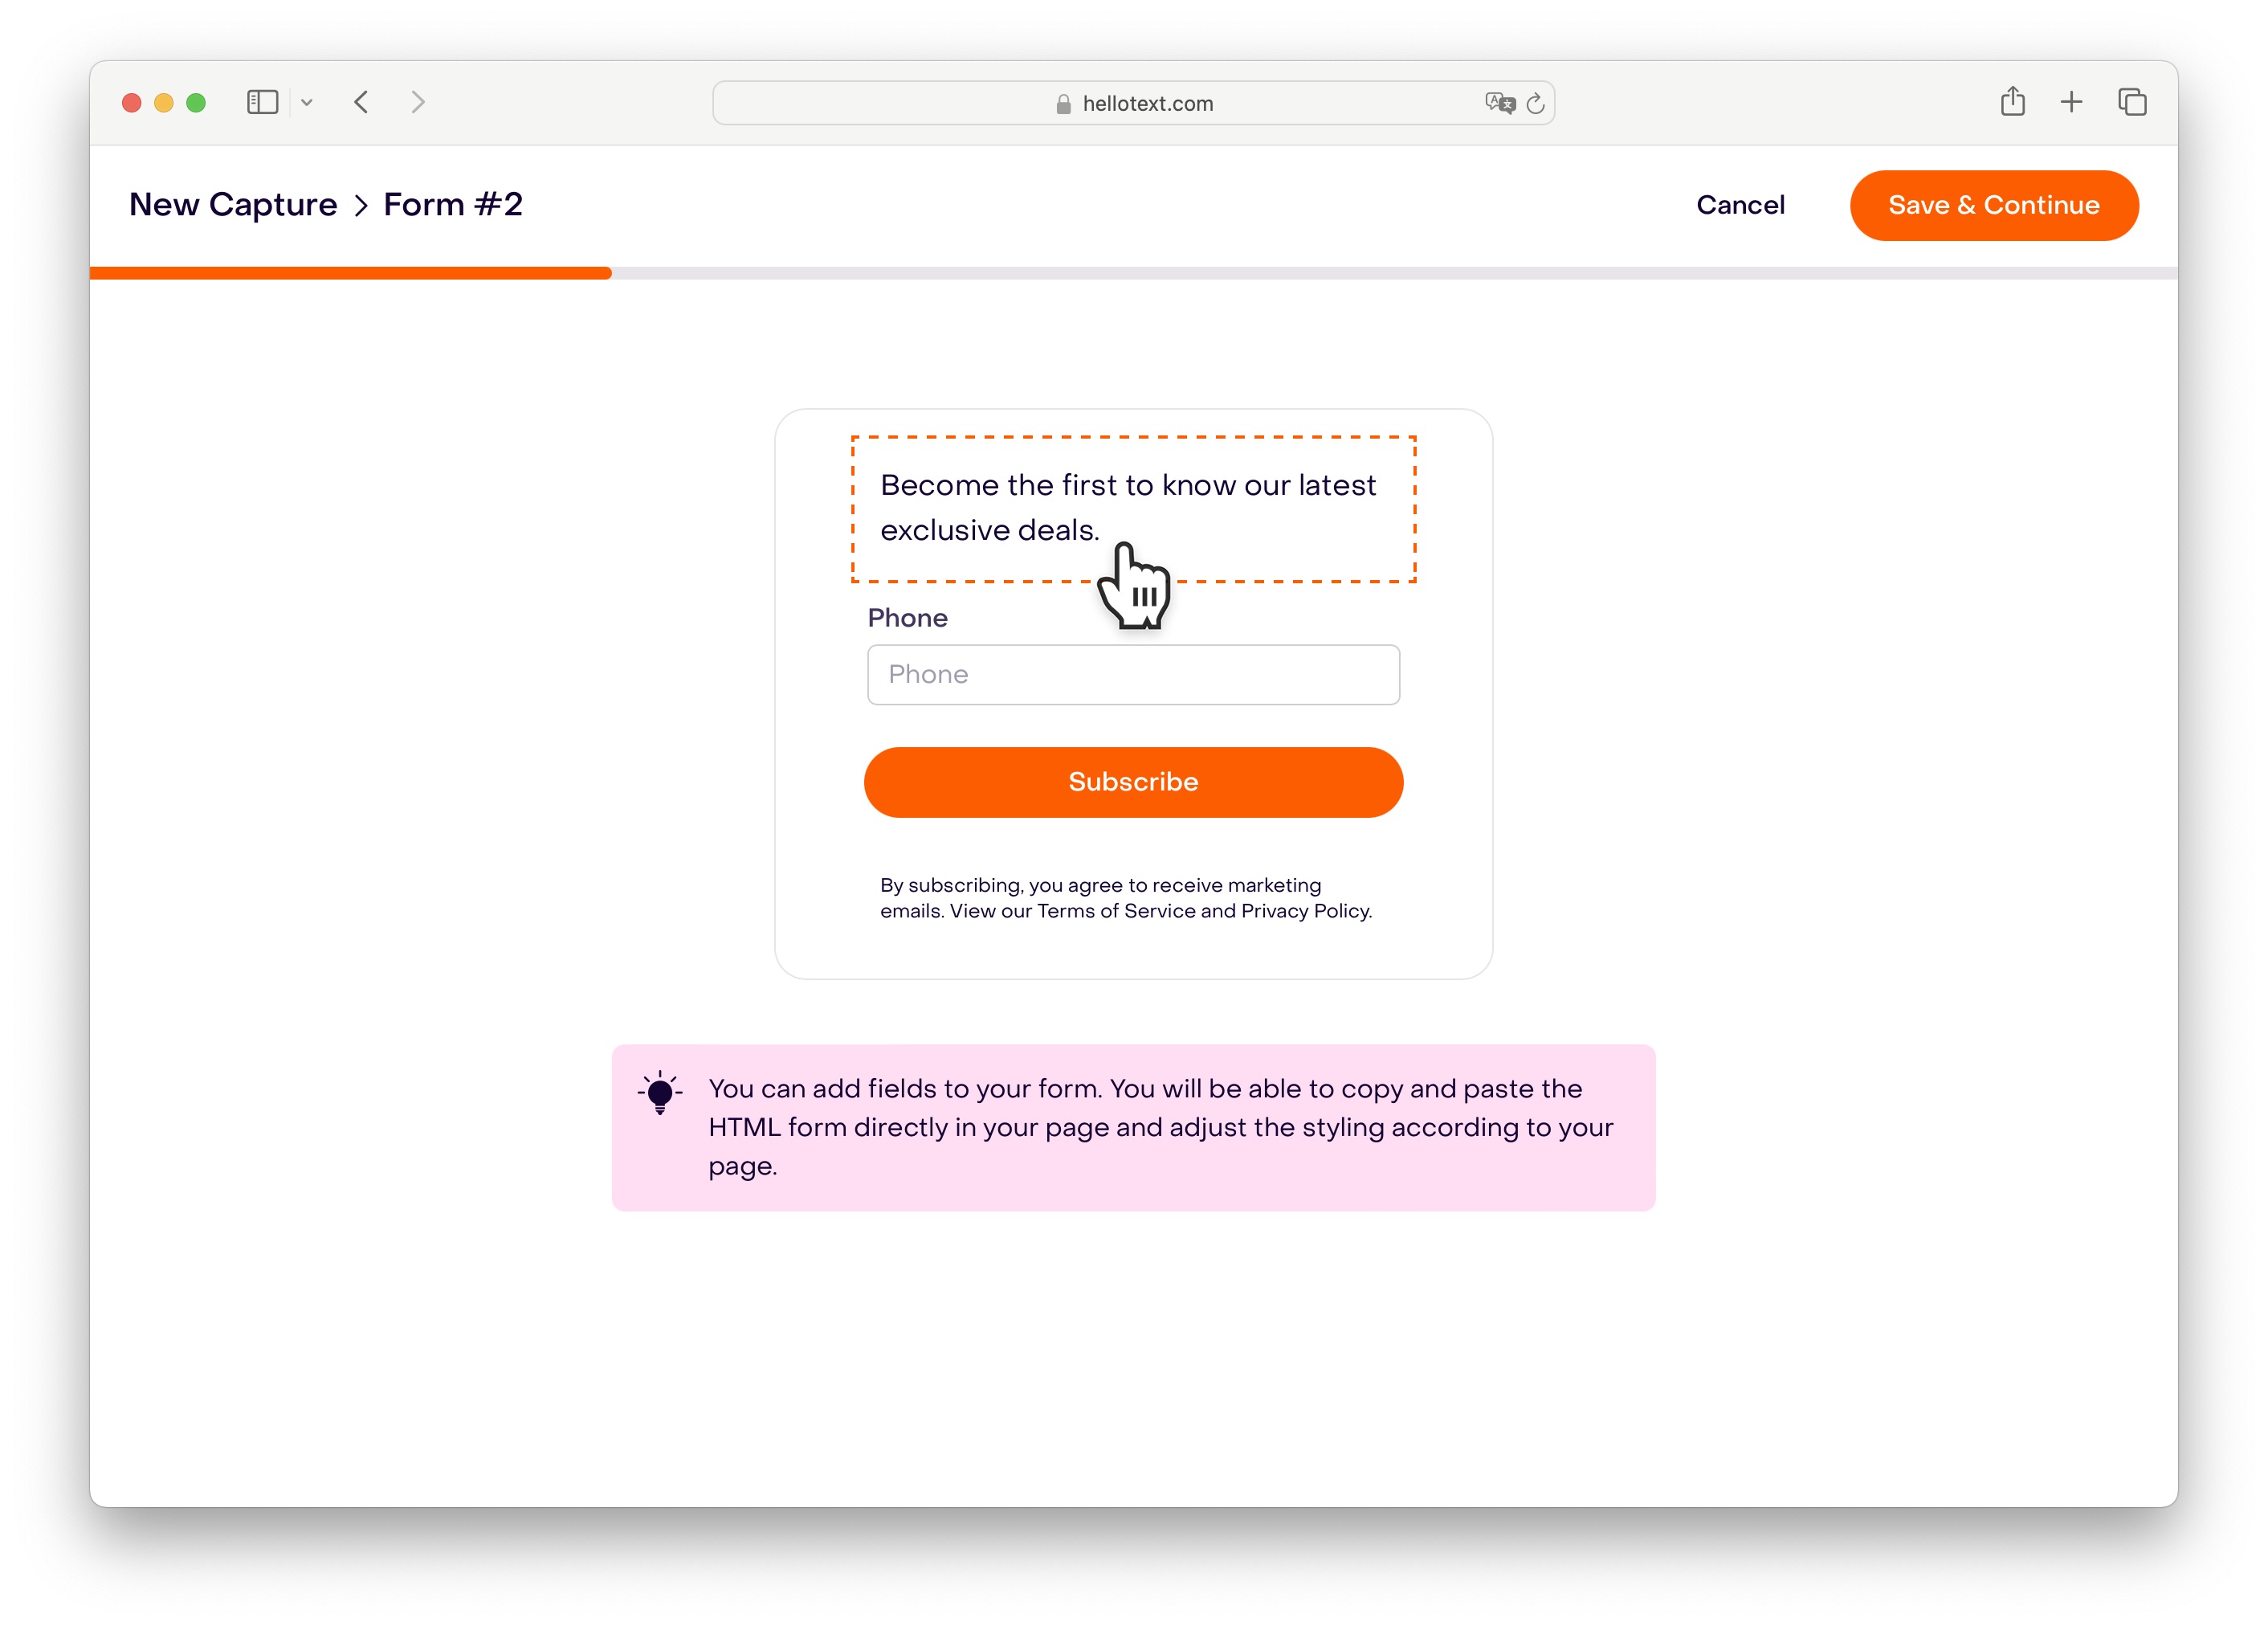
The heading contains the title and supporting content shown before the fields. Use it to explain why the visitor should complete the form and what happens next.
Fields
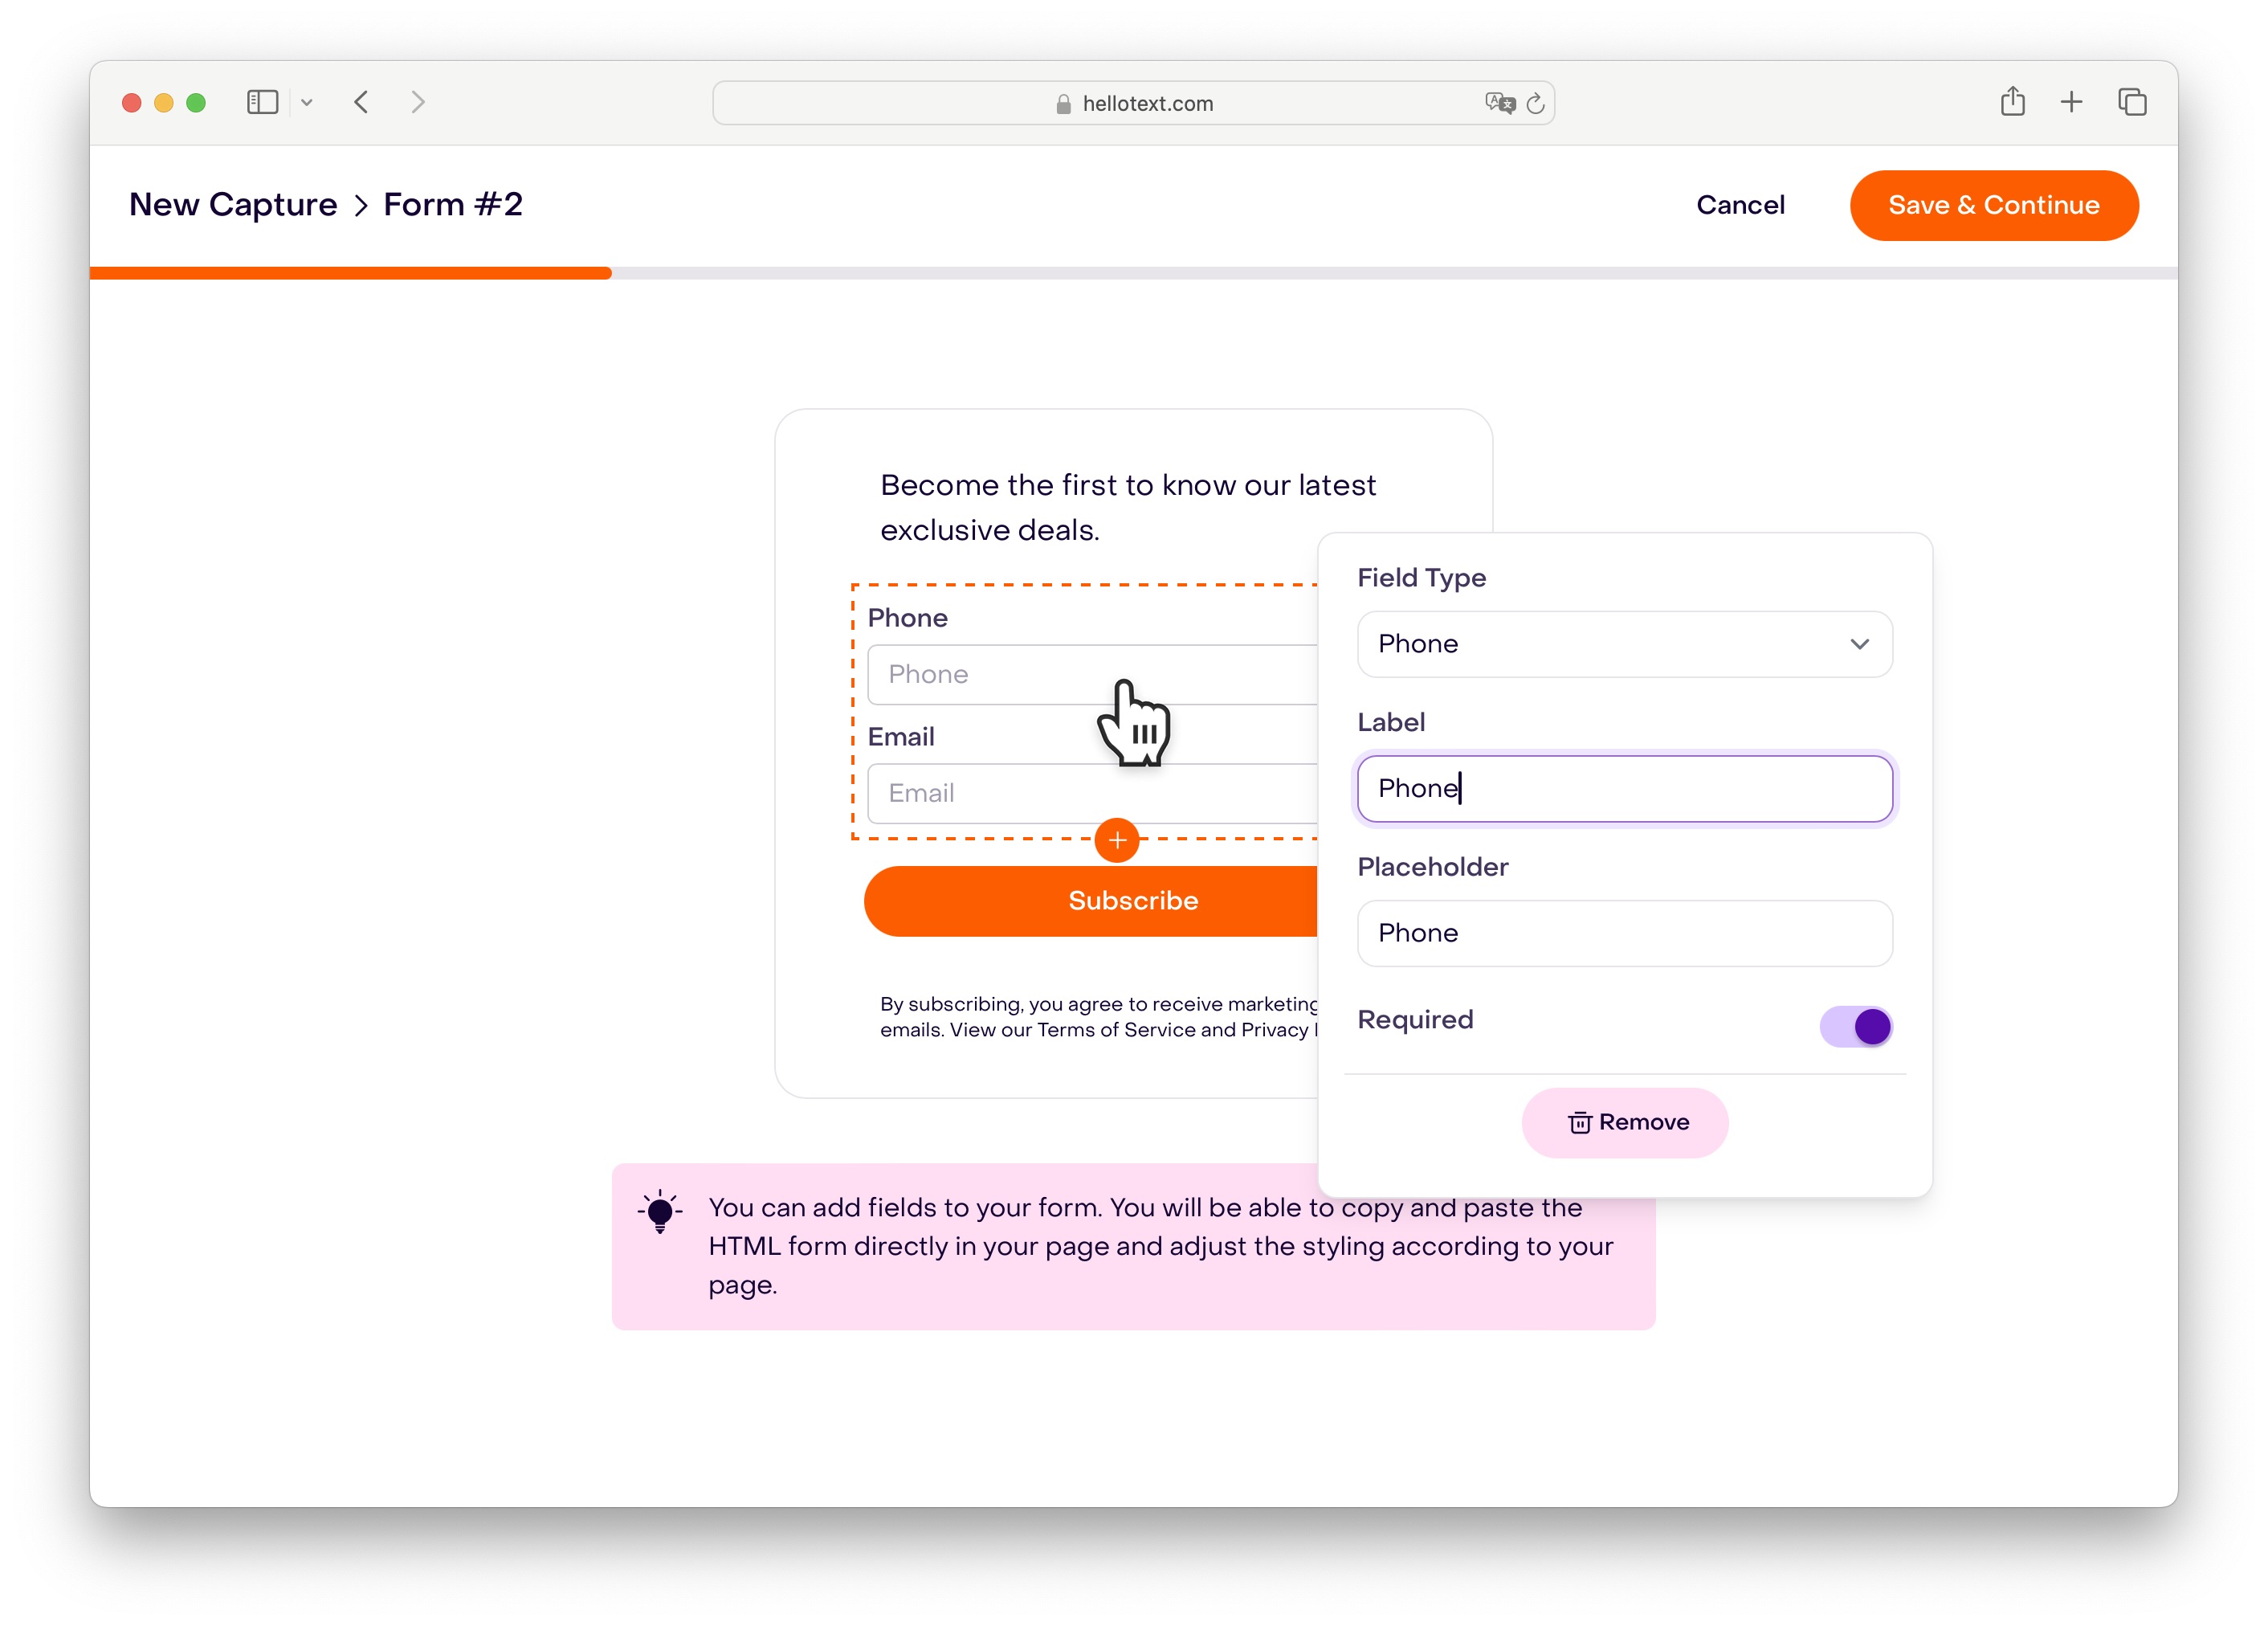
Fields can use standard information such as first name, last name, phone, and email, as well as supported custom properties already defined for customer profiles. For each field, use a clear label and placeholder, and make it required only when the form cannot serve its purpose without it.
Keep the form focused. A shorter form is easier to complete on a phone and leaves additional profile enrichment for later conversations, purchases, or capture playbooks.
Button
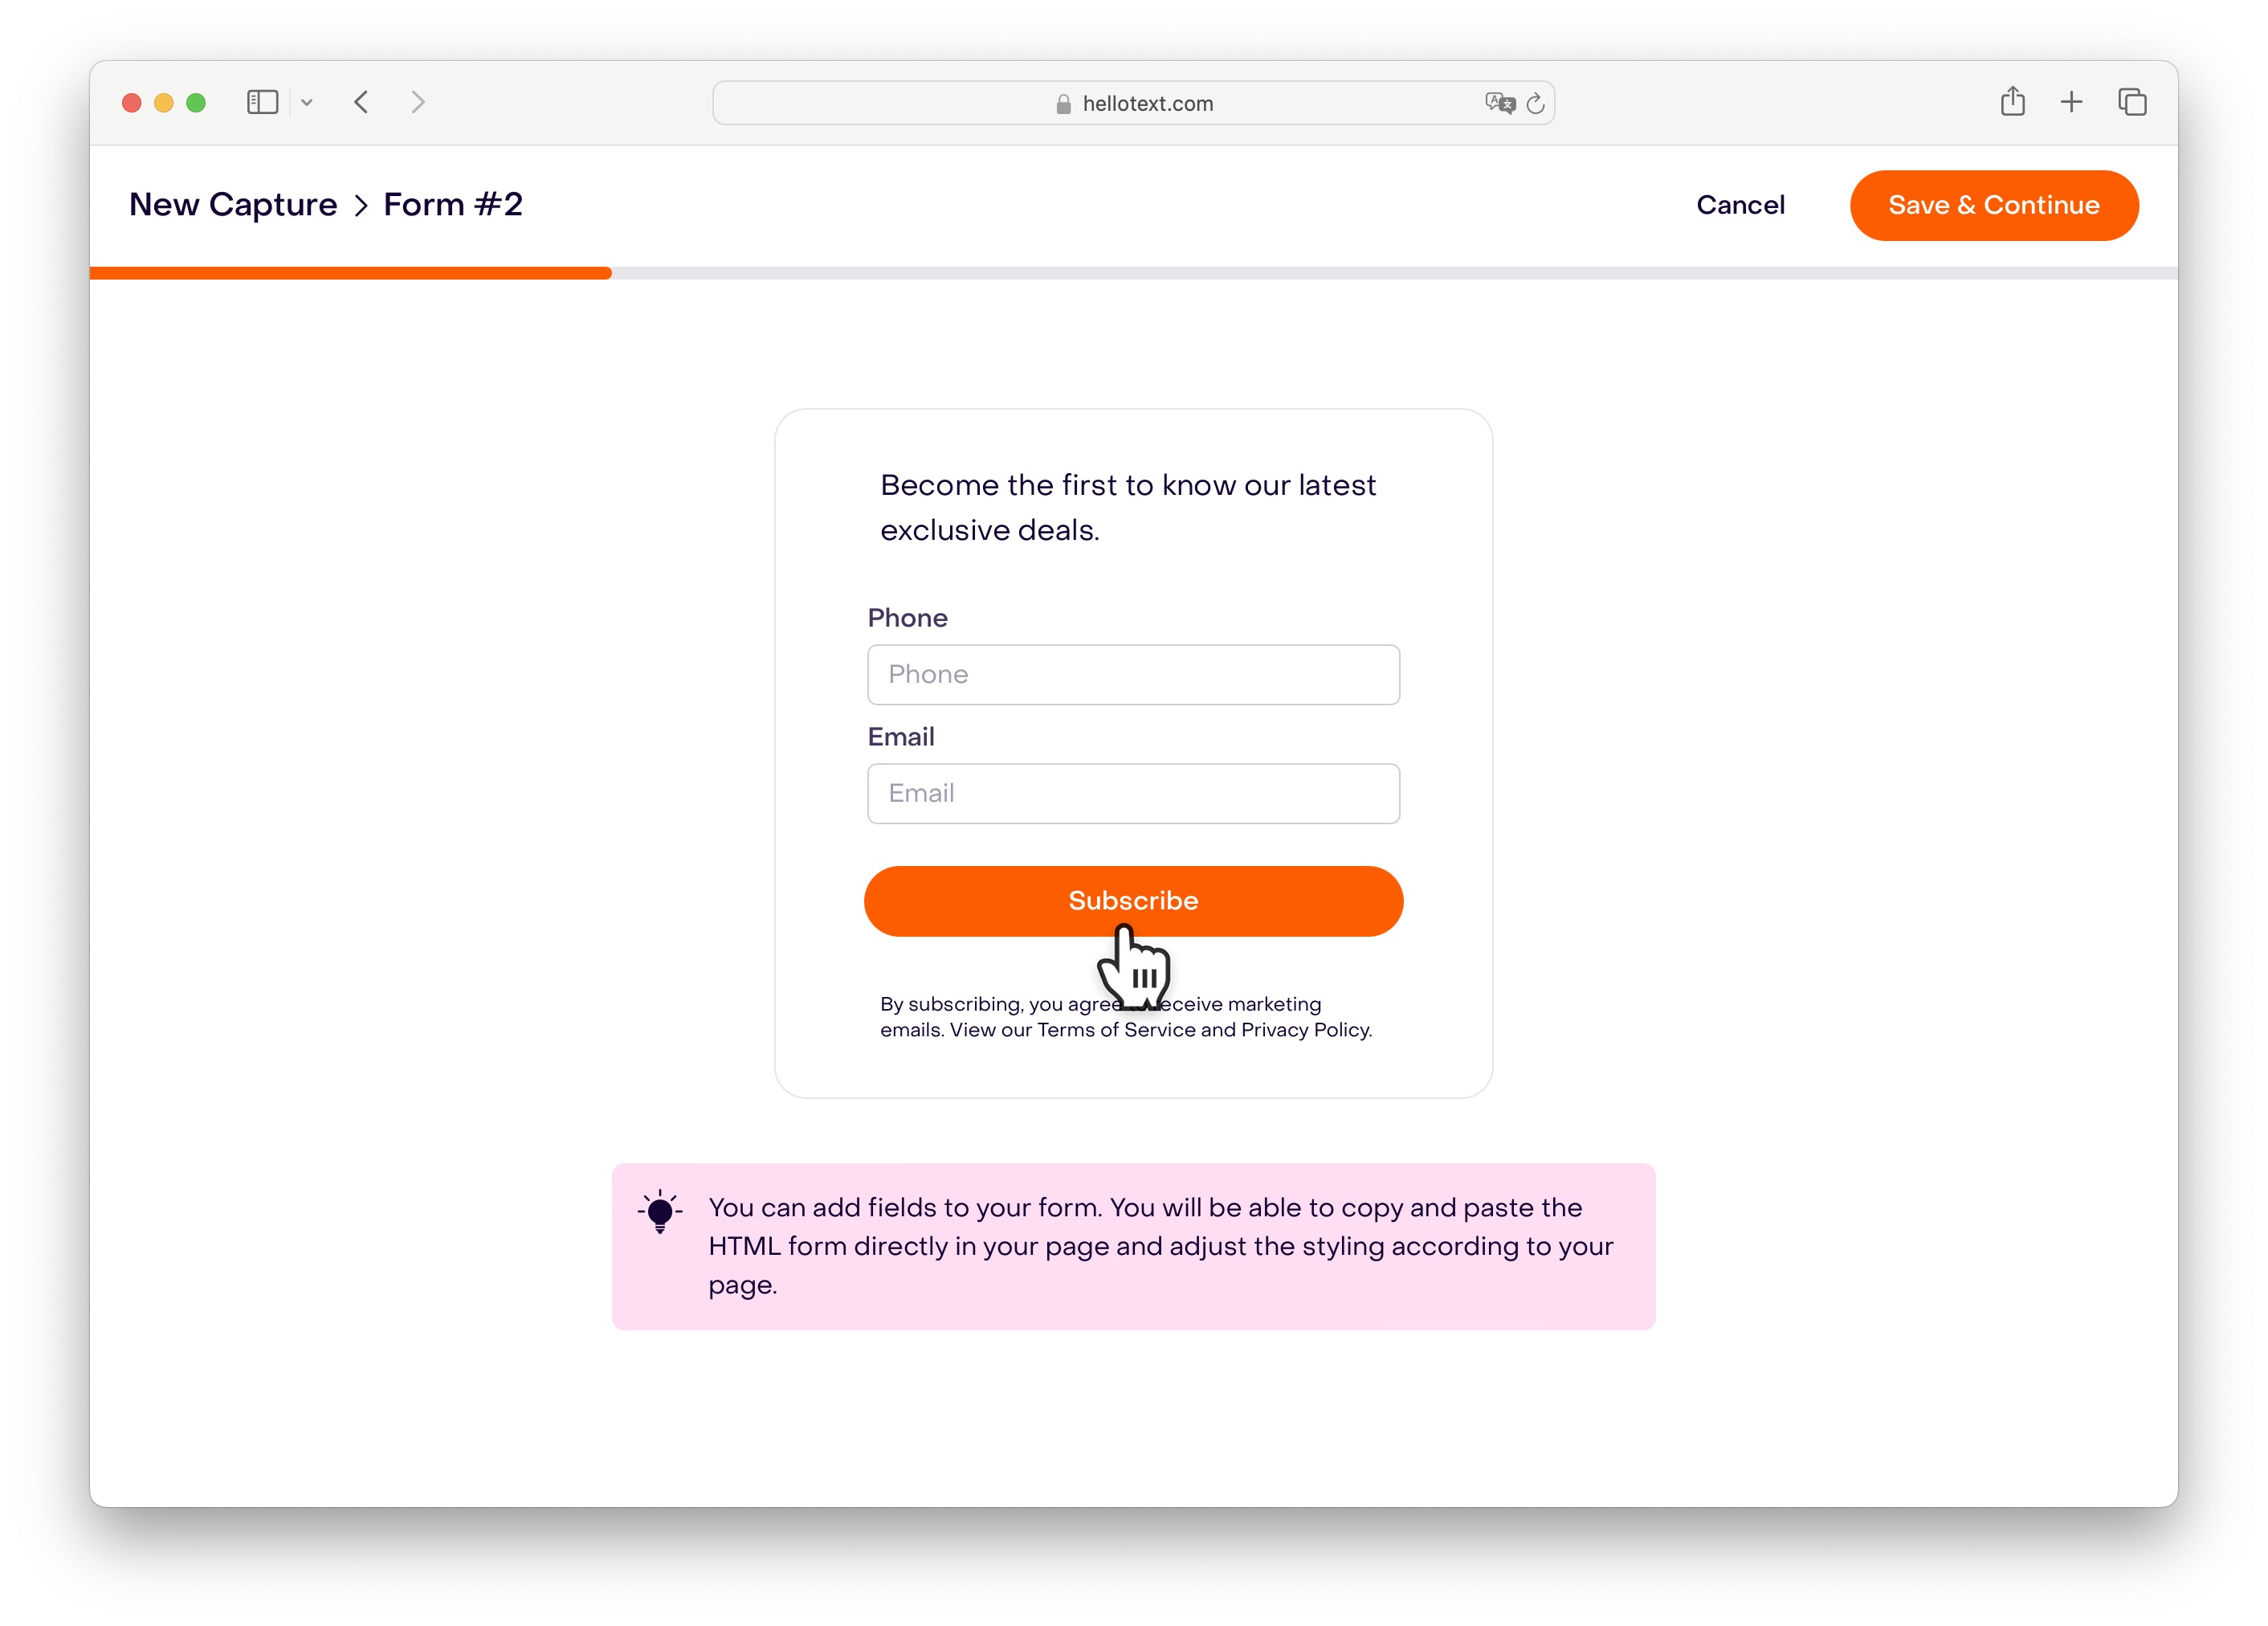
The button submits the form. Use a short action label that makes the result clear, such as Subscribe, Get updates, or Send.
Notice
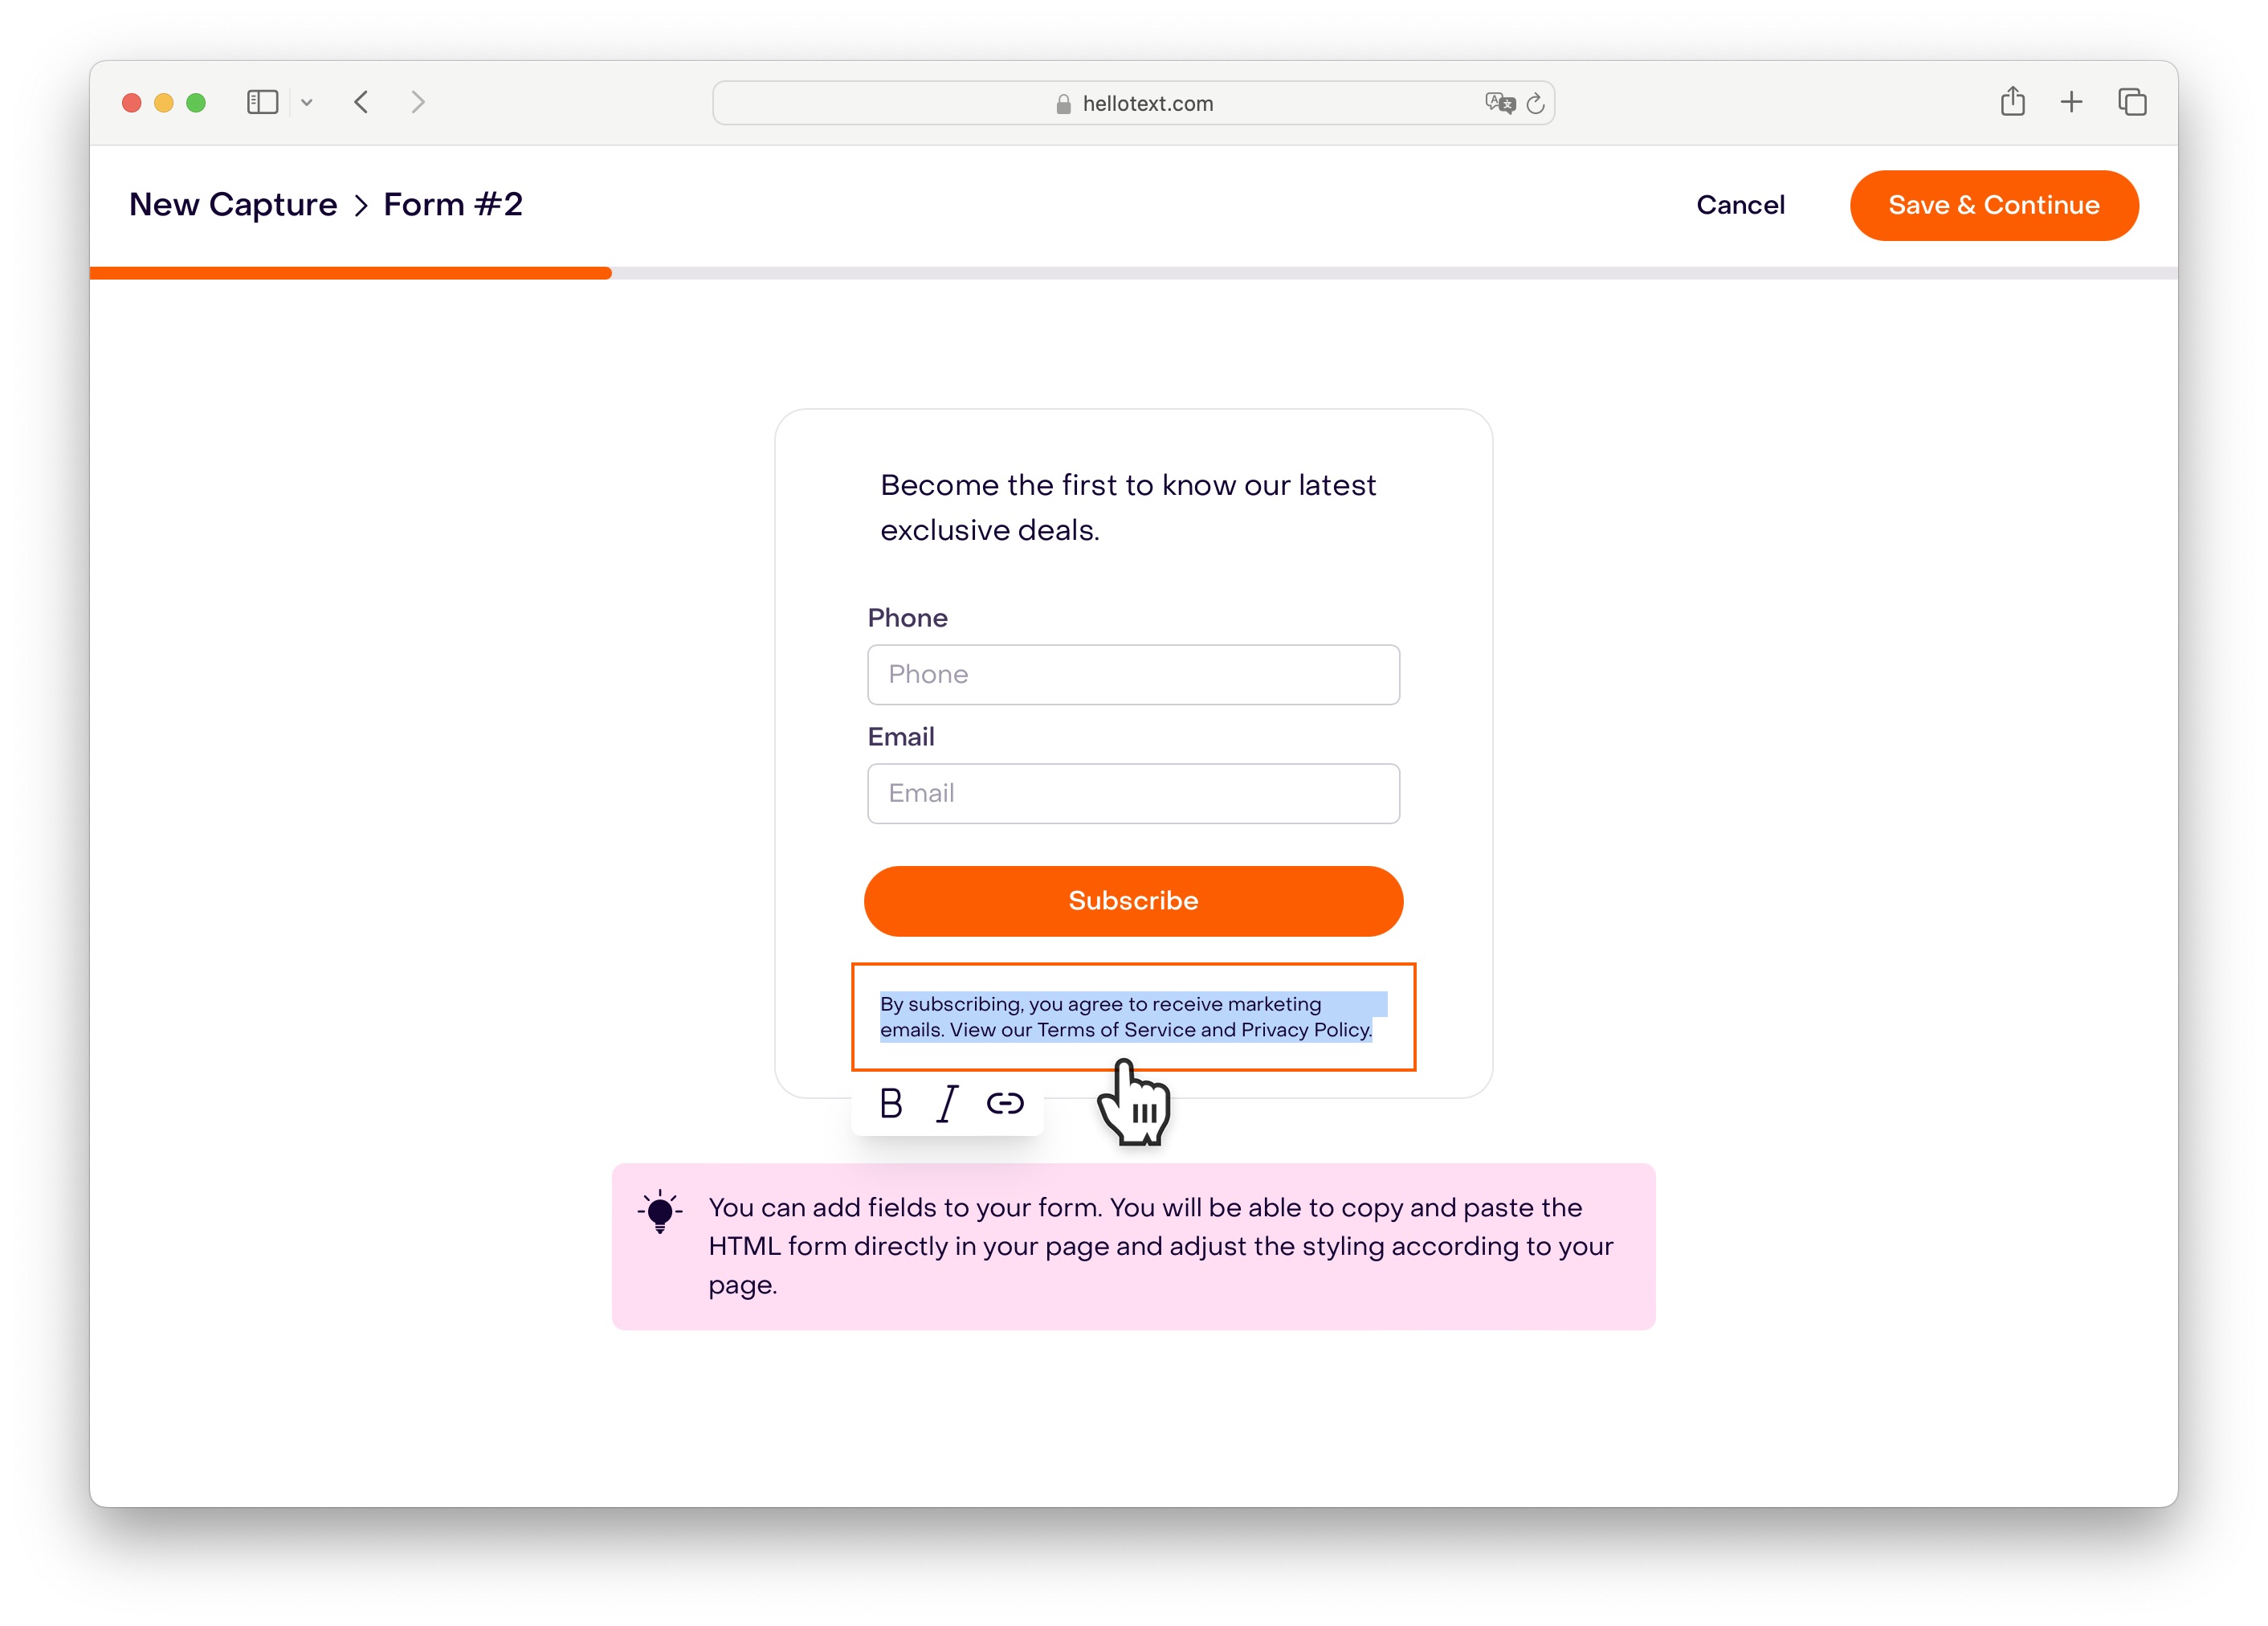
The notice appears after the button and can contain consent, privacy, or other supporting information. Make sure it matches the channels and message types the visitor agrees to receive.
Assign a coupon and journey
Coupon and journey assignment are optional.
Assign a coupon only when the page promises a discount for completing the form. Confirm that the offer and its conditions match what the visitor sees before submitting.
Assign a journey when the new subscriber should enter a welcome or follow-up flow. Check that another capture or integration does not already start the same journey for this signup.
Publish the form
After saving, Hellotext provides two ways to use the form.
Share the hosted link
Copy the generated link when you want Hellotext to host the form. Open it in a new tab and test the complete submission before sharing it with customers.
Embed it on your website
Use the generated HTML when the form should appear inside one of your pages.
- Make sure the website is connected through a supported eCommerce integration or has Hellotext.js installed.
- Copy the generated form code exactly as Hellotext provides it.
- Paste it in the page body where the form should appear.
- Apply your website styles without removing or renaming the generated form attributes.
The generated code contains the identifier Hellotext uses to load the form definition. Copy the current snippet from the product instead of recreating it from an example in this guide.
How verification works
When a submission includes a new phone number or email address, Hellotext can send a verification link to that destination. This protects existing customer profile data and helps prevent someone from submitting another person’s contact details.
Known visitors may not need to repeat verification when the submitted phone number or email already matches their identified customer profile. Once the submitted identifiers are verified, Hellotext can safely associate the information with an existing profile and merge matching profiles when needed.
Test before sharing
Test the full experience using customer details you can safely access.
Confirm that:
- The hosted link opens, or the embedded form loads on the intended page.
- The heading, fields, button, and notice are readable on desktop and mobile.
- Required fields prevent incomplete submissions and explain what needs attention.
- Phone numbers, email addresses, and custom properties reach the correct customer profile.
- Verification messages arrive at new phone numbers or email addresses.
- The assigned coupon is delivered when one is configured.
- The assigned journey starts once after a successful submission.
- The page styling does not hide errors, labels, the button, or the consent notice.
After a successful completion, the same browser can remember that the form was completed. Use a private browser window when you need to repeat a clean test.
If the form does not load
Check these items in order:
- Confirm that the generated form code is present on the page.
- Confirm that the connected eCommerce integration or Hellotext.js loads successfully.
- Compare the embedded code with the current snippet shown in Hellotext.
- Check whether website styles or scripts hide or replace the form.
- Test the hosted link to separate a form configuration problem from an installation problem.
- Test in a private browser window.
When reporting a problem, include the form name, tested URL, device, approximate time, and whether the form failed to load or failed after submission.
JavaScript events
Developers can listen for these Hellotext.js events:
forms:collected: dispatched after Hellotext loads the form definitions found on the page.form:completed: dispatched after a form is submitted successfully.
Use the event payload provided by the installed Hellotext.js version rather than depending on an undocumented payload shape.